.COM Domains fromINR 1037.02INR 753.94Fast registration and instant setup.Register Now.NET Domains fromINR 1131.38INR 940.77Secure your brand with a popular extension.Register Now.MY Domains fromINR 2442.05INR 837.92Ideal for communities, NGOs, and public projects.Register NowBasic Domain Blog WebsiteINR 32375.64INR 10000Includes full setupView Plans.COM Domains fromINR 1037.02INR 753.94Fast registration and instant setup.Register Now.NET Domains fromINR 1131.38INR 940.77Secure your brand with a popular extension.Register Now.MY Domains fromINR 2442.05INR 837.92Ideal for communities, NGOs, and public projects.Register NowBasic Domain Blog WebsiteINR 32375.64INR 10000Includes full setupView Plans
 INR
INR

Website DevelopmentLast Updated: 7/18/2026
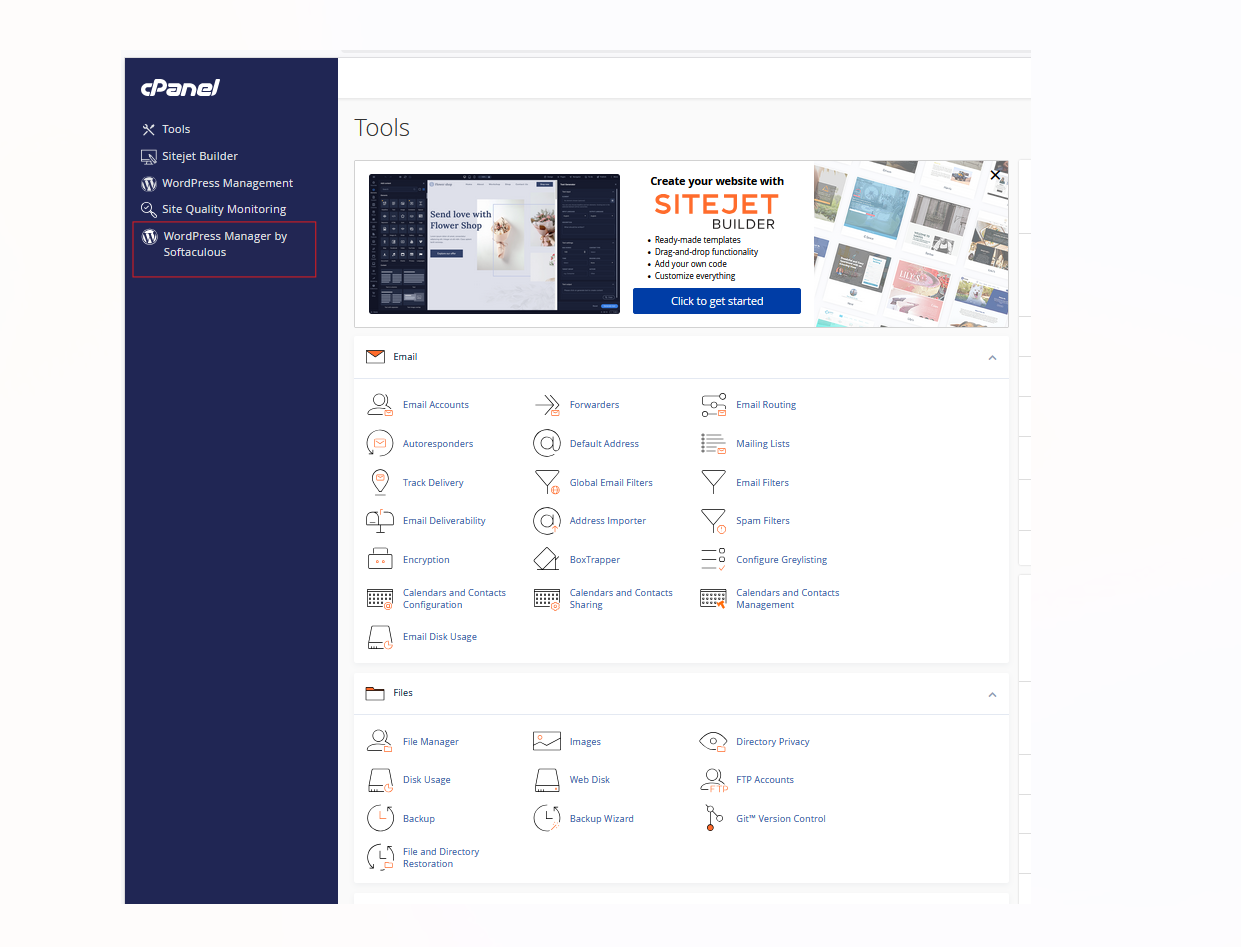
How to Deploy a WordPress site with cPanel

Launching a WordPress® site doesn’t have to be complicated. If your hosting provider offers cPanel, you already have one of the easiest ways to set up and manage your website
How to Deploy a WordPress® Site With cPanel |
Step-by-Step Guide to Deploying WordPress in cPanel
1. Log in to Your cPanel
- Visit your hosting provider’s login page.
- Enter your username and password to access cPanel.
- Look for the cPanel dashboard—usually organized into sections like Databases, Files, Software, and Security.
2. Locate the WordPress Installer
Most cPanel setups include Softaculous Apps Installer or a similar auto-installer tool.
- Find Softaculous under the Software section.Click on WordPress to begin the installation process.
3. Configure Your WordPress Installation
You’ll need to provide some details:
- Choose Protocol & Domain: Select
https://if you already have an SSL certificate. Choose the domain where you want WordPress installed. - Site Settings: Add your site title and description (you can update this later in WordPress).
- Admin Account: Create a strong username, password, and admin email address.
- Select Language & Plugins: Choose your preferred language and optional plugins (e.g., contact form, caching).
4. Select Database and Advanced Options (Optional)
If you want to manage database settings:
- Expand the Advanced Options tab.
- Here, you can set your own database name, table prefix, and manage backup settings.
- Leave it on default if you’re unsure—Softaculous will handle it.
5. Install WordPress
- Click Install to start the process.
- Within a few minutes, WordPress will be installed on your domain.
- You’ll see a success message with links to:
- Your WordPress site (e.g.,
yourdomain.com)Your WordPress Admin Dashboard (e.g.,yourdomain.com/wp-admin)
6. Access Your WordPress Dashboard
- Go to
yourdomain.com/wp-admin. - Enter the admin username and password you created.
- From here, you can:
- Choose a theme
- Install plugins
- Add pages and blog posts
- Customize your website
- Add pages and blog posts
Frequently Asked Questions
You can start with either. Many clients build first and then choose hosting. If you want staging and a live link during development, hosting helps early.
Yes. We can help you register a domain, set DNS, and enable SSL so your site loads securely over HTTPS.
Yes. We can help migrate websites and email depending on your stack and current provider. Share details and we’ll recommend the best approach.
For most WordPress sites, WordPress hosting is the easiest option. High-traffic or custom workloads may perform better on VPS hosting.
We offer always-on monitoring and incident handling, and we can guide you on plan selection and setup.