
 INR
INR


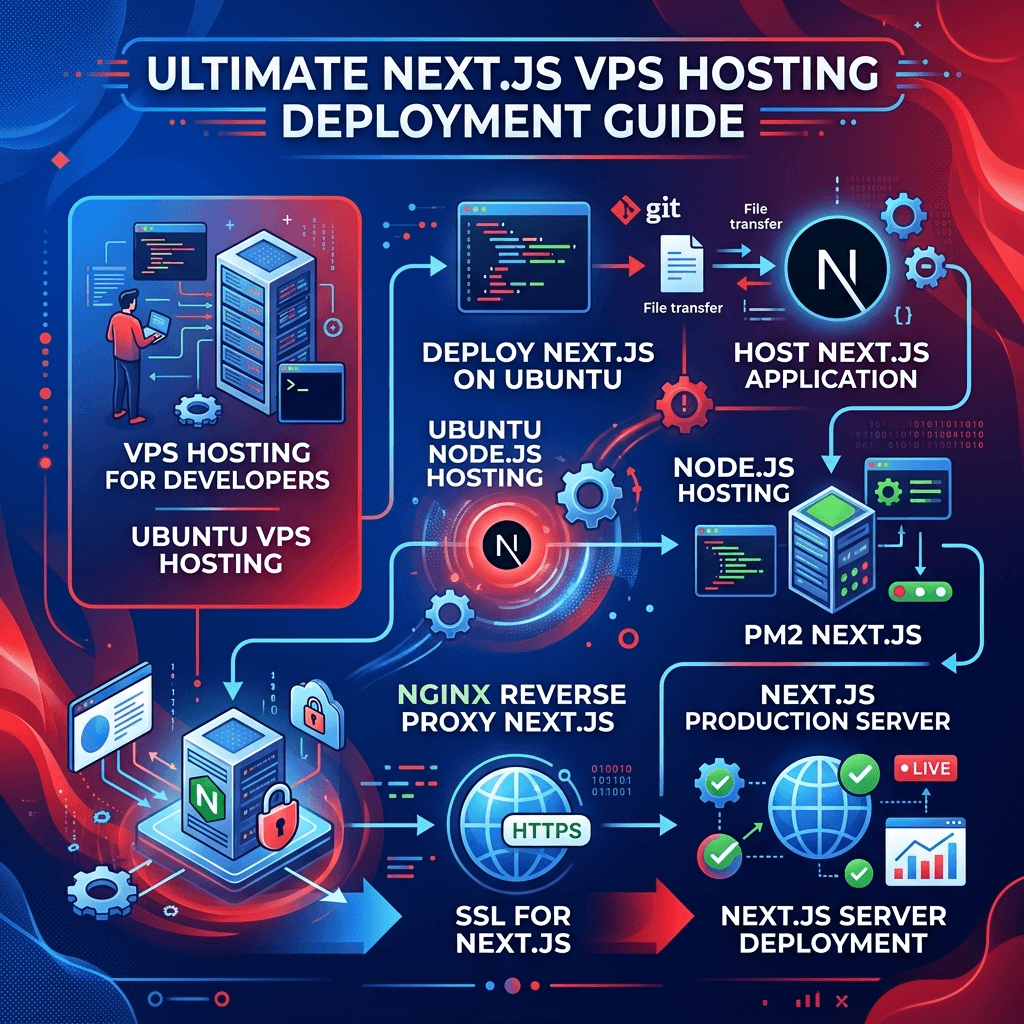
How to Deploy a Next.js Application on an Ubuntu VPS with Nginx and PM2
Deploying a modern web application requires a hosting environment that matches its power and flexibility. While managed platforms offer convenience, hosting your application on a Virtual Private Server (VPS) gives you unmatched control, performance, and cost-efficiency.
Why Developers Choose VPS Over Shared Hosting
Shared hosting environments are restrictive. They often lack support for long-running Node.js processes, block custom server configurations, and force you to share CPU and RAM with hundreds of other websites. A VPS provides dedicated resources, isolated environments, and full root access, ensuring your application performs reliably under heavy traffic.
The Power of Next.js
Next.js has become the go-to React framework for production. By supporting Server-Side Rendering (SSR), Static Site Generation (SSG), and API routes, it delivers blazing-fast load times and excellent SEO out of the box. However, to leverage dynamic features like SSR and image optimization effectively, you need a robust server environment.If you'd rather focus on development than server administration, our Server Management team can assist with Node.js deployment, security hardening, monitoring, backups, performance tuning, and ongoing maintenance for production environments. Learn more about our Server Management Services
Benefits of Self-Hosting on a VPS
Cost-Efficiency: Pay a flat monthly fee regardless of your bandwidth or number of team members.
No Vendor Lock-in: Move your code to any cloud provider without rewriting configuration files.
Ultimate Customization: Fine-tune your server, caching layers, and security policies to your exact needs.
To achieve a production-grade deployment, we will build a modern web stack using Ubuntu as our operating system, Node.js to run our runtime environment, PM2 to manage our processes, Nginx as a reverse proxy, and Let's Encrypt for free, automated SSL certificates. View WingsHoster VPS Hosting Plans
What You'll Need
Before diving into the setup, ensure you have the following prerequisites ready:
Ubuntu 22.04 or 24.04 VPS: A fresh instance from a provider like DigitalOcean, Linode, Hetzner, or AWS.
Root or Sudo Access: Administrative privileges on your server.
Domain Name: A registered domain name with its DNS A-Records pointed to your VPS IP address.
Node.js 22 LTS: The latest long-term support version.
Nginx: To handle incoming web traffic.
PM2: For process management and uptime.
Git: To pull your project codebase from repositories like GitHub.
Step 1 — Connect to Your VPS
Open your terminal and log into your server using Secure Shell (SSH):
ssh root@your_server_ip
💡 SSH Keys vs. Passwords: > Always prefer SSH Keys over passwords. Passwords can be brute-forced by automated bots scanning the internet. SSH keys rely on asymmetric cryptography, making them virtually impossible to crack, which significantly hardens your server against unauthorized entry.
Step 2 — Update Ubuntu
Before installing any software, update your local package index and upgrade existing packages to their latest versions:
sudo apt update && sudo apt upgrade -y
Keeping your system packages updated is the cornerstone of server maintenance. It patches critical security vulnerabilities, fixes system bugs, and improves overall application stability by ensuring your libraries are compatible with modern dependencies.
Step 3 — Install Node.js
We will use the official NodeSource repository to install Node.js 22 LTS. Run the following commands to add the repository and install the runtime:
# Download and execute the NodeSource setup script
curl -fsSL https://deb.nodesource.com/setup_22.x | sudo -E bash -

# Install Node.js and npm
sudo apt install nodejs -y
Verify that the installation was successful by checking the versions:
node -v
npm -v
Step 4 — Install PM2
By default, running npm start binds the application to your terminal session; if you close the terminal, your website goes down. PM2 is a production process manager for Node.js applications that keeps your app alive forever.
Install PM2 globally on your system:
sudo npm install -g pm2
Why Use PM2?
Automatic Restarts: It instantly restarts your application if it crashes or encounters an unhandled exception.
System Reboots: It ensures your app launches automatically if the entire VPS reboots.
Background Execution: It runs your application silently in the background.
Live Monitoring: It tracks CPU and memory consumption in real time.
Step 5 — Clone Your Next.js Project
Navigate to your web directory (or create one), clone your Git repository, and move into the project folder:
cd /var/www
sudo git

clone https://github.com/username/project.git

cd project
Step 6 — Install Dependencies
Install your project's node modules depending on your environment needs:
npm install

# OR
npm ci
When to use npm install vs npm ci
npm install: Best used during development. It installs dependencies, updates thepackage-lock.jsonfile if minor updates are available, and resolves nested dependency trees.npm ci(Clean Install): Best used in production environments and CI/CD pipelines. It bypassespackage.json, installs the exact versions specified in yourpackage-lock.json, and completely wipes the existingnode_modulesfolder first to ensure absolute consistency.
Step 7 — Configure Environment Variables
Create a production environment file to store your application's configuration details:
nano .env.production
Add your required production environment keys:
DATABASE_URL="postgresql://user:password@localhost:5432/mydb"NEXTAUTH_SECRET=
"your-super-secret-random-key"NEXT_PUBLIC_API_URL="https://api.example.com"
⚠️ Security Warning:
Never commit your
.envor.env.productionfiles to GitHub or version control. Leaking secrets allows malicious actors to access your databases, payment gateways, and third-party APIs. Always add.env*to your.gitignorefile.
Step 8 — Build the Application
Compile your Next.js application for production:
npm run build
During the build process, Next.js optimizes your code. It transpiles your React components, compiles TypeScript, optimizes CSS, generates static pages (SSG), and bundles your code into an optimized, minified structure inside the .next directory to minimize page load speeds for your end users.Need a complete web application instead of just hosting? Explore our Website Development Services, where we build scalable Next.js, React, Node.js, Laravel, and enterprise applications tailored to your business needs.
Step 9 — Start the Production Server
Test your build locally on the server to ensure everything compiles correctly:
npm run start
Your app will launch on port 3000 by default. You can test it by opening a new browser tab and visiting:
http://your_server_ip:3000
(Press CTRL + C to stop the server once you verify it works).
Step 10 — Run Your App via PM2
To keep your Next.js app running continuously in the background, hand execution over to PM2:
pm2 start npm --name nextjs -- start
Essential PM2 Commands for Daily Operations
Use these commands to monitor and manage your live application background processes:
Check active applications:
pm2 statusView real-time application logs:
pm2 logsRestart your application:
pm2 restart nextjsSave process list for reboots:
pm2 saveGenerate system startup script:
pm2 startup
Step 11 — Install Nginx
While Node.js can serve web traffic, it is not optimized for handling public internet vulnerabilities, SSL certificates, or traffic routing at scale. We will use Nginx as a high-performance reverse proxy.
Install Nginx:
sudo apt install nginx -y
Step 12 — Configure Nginx as a Reverse Proxy
Create an isolated Nginx configuration file for your domain:
sudo nano /etc/nginx/sites-available/example.com
Paste the following configuration blocks, replacing example.com with your real domain:
server {

	listen80;
        server_name example.com www.example.com;
        location / {
        proxy_pass http://localhost:3000;
        proxy_http_version1.1;
        proxy_set_header Upgrade $http_upgrade;
        proxy_set_header Connection
	'upgrade';

	proxy_set_header Host $host;
        proxy_cache_bypass $http_upgrade;
    }
}
Configuration Directives Explained:
listen 80;: Tells Nginx to listen for incoming web traffic on standard HTTP Port 80.
server_name: Filters traffic; it ensures Nginx only processes requests intended for your specific domain name.
proxy_pass: Forwards all incoming public traffic arriving at Nginx directly to your background Next.js application running on
http://localhost:3000.proxy_set_header Upgrade & Connection: Enables support for modern WebSockets, which are crucial for real-time Next.js features and features like hot-reloading or data streaming.
proxy_set_header Host: Passes the original host headers from the visitor to your Next.js application so it knows what URL the user requested.
Activate this configuration by creating a symbolic link to the sites-enabled directory:
sudo ln -s /etc/nginx/sites-available/example.com /etc/nginx/sites-enabled/
Test your configuration for syntax errors, then restart Nginx:
sudo nginx -t
sudo systemctl restart nginx
Step 13 — Enable SSL with Let's Encrypt
Security is mandatory for modern web applications. We will use Certbot to install a free, trusted Let's Encrypt SSL certificate.
Install Certbot and its Nginx integration plugin:
sudo apt install certbot python3-certbot-nginx -y
Run Certbot to request and automatically install your SSL certificates:
sudo certbot --nginx -d example.com -d www.example.com
Follow the interactive prompts. Certbot will automatically rewrite your Nginx configuration to support HTTPS (Port 443) and force-redirect all insecure HTTP traffic to HTTPS. for production will recommend our ssl certificates plans which should also consider.
🔒 Automatic Renewal: Let's Encrypt certificates last for 90 days. Certbot automatically adds a system cron job that checks your certificates twice daily and renews them automatically before they expire.
Step 14 — Firewall Configuration
Protect your server from network exploits by activating the Uncomplicated Firewall (UFW). Restrict traffic so that malicious actors cannot scan unprotected ports on your server.
# Allow SSH connections so you don't get locked out
sudo ufw allow OpenSSH

# Allow standard HTTP (80) and HTTPS (443) web traffic through Nginx
sudo ufw allow

'Nginx Full'# Turn on the firewall
sudo ufw
enable
By keeping only these essential ports open, you completely block direct outside access to sensitive ports like your database port ( 5432) or the raw application port ( 3000).
Step 15 — Verify Your Deployment
Your deployment is complete! Walk through this deployment checklist to confirm everything works optimally:
[ ] HTTPS works: Visiting
https://example.comshows a secure lock icon in the browser address bar.[ ] Domain resolves: Your domain correctly routes to your VPS IP address.
[ ] PM2 running: Running
pm2 statusshows yournextjsapplication marked asonline.[ ] Build successful: The application loads pages instantly without throwing layout or runtime build errors.
[ ] Automatic restart enabled: Running
pm2 savehas secured your runtime configuration for unforeseen system restarts.[ ] Firewall configured: Running
sudo ufw statusdisplays active security rules allowing only OpenSSH and Nginx Full traffic.
Production Best Practices
Deploying is only half the battle; maintaining server health is critical for long-term project success.
Enforce Key-Based Authentication: Disable password authentication inside your
/etc/ssh/sshd_configfile entirely.Automate System Updates: Enable
unattended-upgradesto automatically install critical OS security patches without manual intervention.Monitor Resources Regularly: Use tools like
htopor install logging services like Datadog/Grafana to monitor CPU spikes, memory leaks, and disk space usage.Implement Automated Backups: Set up nightly snapshots of your server volumes and database dumps to an off-site cloud storage locker (like AWS S3).
Use a Content Delivery Network (CDN): Route your domain through a CDN like Cloudflare to cache static assets globally, reduce server CPU load, and provide robust DDoS protection.
Common Deployment Errors & Solutions
If things go wrong, use this quick-reference matrix to troubleshoot your production server:
| Error | Root Cause | Definitive Solution |
npm build fails | Missing node modules or syntax errors | Delete node_modules, run npm install again, and check your terminal logs for code errors. |
| 502 Bad Gateway | Nginx cannot talk to your backend | Your application crashed or PM2 stopped. Run pm2 status and check pm2 logs to fix the code crash. |
| Permission Denied | File system permission mismatch | Your active user doesn't own the project files. Fix ownership using: sudo chown -R $USER:$USER /var/www/project. |
| SSL Not Working | DNS propagation delay | Your domain isn't fully pointing to your VPS yet. Wait for your DNS to propagate, then rerun the certbot command. |
| Port 3000 Unreachable | Traffic blocked or app down | Your firewall is blocking external port access (which is normal if using Nginx) or your PM2 app isn't running. Check with pm2 status. |
Shared Hosting vs VPS vs Dedicated Server for Next.js
| Feature | Shared | VPS | Dedicated |
|---|---|---|---|
| Root Access | ❌ | ✅ | ✅ |
| Node.js | Limited | ✅ | ✅ |
| PM2 | ❌ | ✅ | ✅ |
| Nginx | Limited | ✅ | ✅ |
| Docker | ❌ | ✅ | ✅ |
| Performance | ⭐⭐ | ⭐⭐⭐⭐ | ⭐⭐⭐⭐⭐ |
Production Deployment Checklist
✓ Ubuntu updated✓ Node.js installed
✓ PM2 running
✓ Nginx configured
✓ SSL enabled
✓ Firewall enabled
✓ SSH keys configured
✓ Backups enabled
Why Use a VPS for Next.js?
Ultimately, hosting Next.js on an unmanaged Linux VPS offers significant long-term performance benefits compared to generic PaaS architectures:
Full Root Access: Install any native system dependency, image library, or caching layer your application requires.
Dedicated Resource Management: Your application won't suffer from performance degradation because of a "noisy neighbor" on a shared server.
Granular Control over Node.js: Control exactly when you shift Node.js runtimes without waiting for an upstream cloud vendor to approve it.
Unified Environments: Run your Next.js application, an underlying PostgreSQL database, and a Redis cache cluster right on the exact same server instance for single-digit microsecond database queries.